Monday 17 October 2011

The storm

Mission 4 : The Storm

Ghost Town
When the Warthog stops, move towards the large gate and use the switch on the wall to the right of the gate to open it. Climb the stairs up ahead and turn right. Follow the walkway through the doorway leading into the next area. Turn right and activate the switch there to let your allies in. Look down to the area below, there should be a group of Grunts and Jackals. Throw a grenade or two down, your allies will deal with the leftovers. Hop off of the catwalk and head through the doorway down below. Up the ramp, head straight until you reach the end of the walkway. Pick up the Battle Rifle that is on the ground next to the dead marine. You’ll meet some minor resistance (Grunts, Jackals) here, as well as a Ghost-riding Brute. After the fight, activate the switch at the end of the tunnel to open the gate. Get into a Warthog and drive back outside.

This area is occupied by a bunch of Ghosts and the first anti-air Wraith that you must destroy. Get rid of the Ghosts first. Remain at the bottom of the ramp and allow the Ghosts to come to you, driving out too far into the field will likely get you killed. The Ghosts are being driven by Grunts, so your gunner can easily take them out if you provide a good angle. The anti-air Wraith is in the middle of the field. Unfortunately, the Warthog gunner will only shoot at the Wraith and completely ignore the Plasma Cannon gunner. Because of this, once you are close enough, quickly hop out of the Warthog and either toss a grenade (preferable) at the Wraith’s gunner, or shoot him. With the gunner out of the way, approach the Wraith and hold RB to climb up onto its hood. Pound away until it is destroyed.
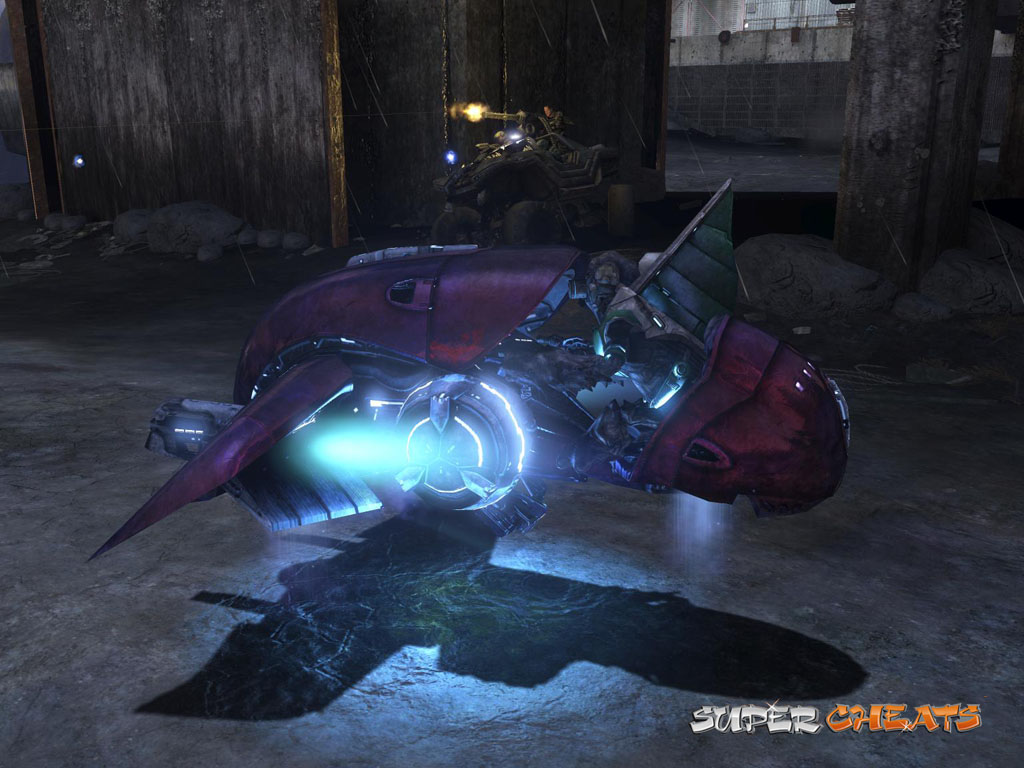

Ghost

GOLD SKULL: This one’s tricky. You’ll need a Warthog to do this. For some reason, this skull will disappear if you destroy the Plasma Mortar Wraith that is dropped onto the walkway by a Phantom. For your safety, destroy the anti-air Wraith in the field and all of the Ghosts before you attempt this. Look for a circular building in the field and drive right up against it. Get out of the Warthog and jump onto its hood. You’ll have to 'crouch jump' to get on top of the building. To crouch jump, first press A to jump up into the air, and when you are mid-jump click the Left Thumbstick. If done correctly, you’ll just make it onto the circular building. The ‘Catch’ gold skull is up there.


Gold Skull


A Wraith is soon dropped onto the far end of the walkway. There is a ramp that you can use to propel the Warthog from the field to this part of the walkway, allowing you to destroy the Wraith there. If you can manage to get past the gunner, you can simply attach yourself to the back of the Wraith and punch there until both the driver and the gunner fly out. A Sniper Rifle can be found on the roof of the building across the wooden bridge connected to the walkway. If a marine stationed there is still using it, swap with him.


Destroying a Wraith


When you are prepared, go through the gate near the destroyed Plasma Mortar Wraith. Kill all of the Covenant in this area, including those up the stairs. When clear, proceed through the doorway across from the stairs. Take the ramps up to the catwalk and remove the Machine Gun from its stand. The room soon becomes filled with a swarm Drones, the Machine Gun can make sure work of them. Once the Drones have been dealt with, get off of the catwalk and move towards the group of marines at the end of the room.

Board one of the Mongooses, allow a marine to board, and then drive through the gate. Your allies all have Rocket Launchers, which is a good thing since there are plenty of enemy vehicles in this next area. Drive around the enemy vehicles, slowing down to allow your passenger to get a clear shot. There’s another anti-air Wraith in the distance, it may be destroyed by your Rocket Launcher-wielding allies before you get to it. When the field is clear of enemy vehicles, prepare yourself for something big.

Tsavo

Mission 3 : Tsavo Highway


Full Contact Safari
A Shotgun can be found on the floor next to the incapacitated marine by the door straight across from your spawning location. Go through the doorway next to the flames to enter the hangar. You have the choice of driving a standard Warthog or a transport Warthog. You best bet would be to go standard. When the door is opened, drive the Warthog out and follow the trail of red flares. Drive straight through the group of Jackal Infantry that you come to at the end of the tunnel. All you must do now is follow the other Warthogs through the grasslands. Covenant will be encountered along the way, you can either try to run them over with the Warthog, or let your gunner do the job. When you spot enemies in the distance, slow down and turn the Warthog towards them to give the gunner a good shot.


Warthog Carrier


Eventually, you will reach a highway. You soon come to a barricade, as your path blocked by Covenant and a large blue barrier. Drive around the surrounding enemies while the gunner picks them off. If a Drone attaches itself to the driver’s side of the Warthog, tap the B button to knock it off. Once all enemies in the vicinity have been dealt with, leave the Warthog and walk through the barrier. Shoot the purple power generator behind the barrier until it is destroyed. With the power generator destroyed, the barrier is down, allowing you to proceed through the tunnel with the Warthog.

GOLD SKULL: Once you are through the tunnel, get out of the Warthog, turn left and hop off of the highway. Move towards the large pipe line running alongside the highway and climb the yellow ladder on its side. Walk along the pipe line until you reach a fence. Jump to the side, past the fence, and look down to your left. Drop down to the walkway running along the mountainside. Move to the end of the walkway and turn left. Run and jump over to the cliffside there. The skull ‘Tough Luck’ is on this cliff.

Drive down the highway until you reach a blockade. At this point, you have no choice but to leave the Warthog behind. Walk across the beam connecting the two pieces of highway and jump up onto highway.

The Broken Path
Walk down the road and turn into the area to the left at the dead end. There are hostiles on the side of the highway, including Brute Shot and Fuel Rod Gun users. Move past the barriers atop the hill and enter the bunkers behind them. A Sniper Rifle can be found in one of the bunkers, as well as a detached Machine Gun. Stay behind the barriers and snipe the Covenant that are dropped off by the Phantom. Once the initial wave has been dealt with, a Wraith enters the scene.


Sniper Rifle


A Wraith’s plasma mortar is devastating, though it moves slowly enough that it can easily be dodged if you are far enough away from the Wraith. First, use the Sniper Rifle to kill the Plasma Cannon gunner on the front of the tank. Now, you must get close to the Wraith. As mentioned, the Wraith’s plasma mortar is easy enough to dodge, just jump to the side before it reaches you. When you are close enough to the Wraith’s hood, hold RB to climb up onto it. Now simply mash the B button to pound away until the Wraith is destroyed. Without the gunner, while you are on the hood of the Wraith, it is defenceless.

Crows Nest

Mission 2 : Crow's Nest


Know Your Role
GOLD SKULL: From the starting point, move straight ahead towards the door at the very back of the room. The skull is on the giant pipe above you. To get onto the pipe, hop up onto the metal shelves across from the door. From there, jump to the narrow red pipe. From the red pipe, jump up onto the large pipe. It may take a few tries before you can successfully make it up there. The skull ‘Black Eye’ is sitting at the end of the pipe.


Gold Skull

Head down the stairs in the middle of the ops-center. At the bottom of the stairs, you are given an Assault Rifle and the door is opened. Look for a marine with a Battle Rifle and swap your Assault Rifle for that, it will serve you much better. Go through the doorway at the top of the stairs. Use the switch to the left of the door by pressing RB. Turn right and follow the path down to another door. You’ll have to face a large group of Grunts and Jackals, as well as a Brute Captain. When the enemies have been dealt with, start down the tunnel. Keep an eye on your left; you will soon come to a door with a green light next to it. Proceed through this door.

In the area just before the ops-center, you will encounter a horde of Drones. Crouch down and take cover behind the wall, leaving cover occasionally to shoot at the Drones through the fence. In a group, Drones are deadly, though it only takes a few bullets to one down. Wait until the Drones are stationary, and then move from cover and shoot as many as you can before they start firing at you in unison. When all of the Drones have been killed, continue en route to the ops-center.

Walk it off

Walk It Off
Once you gain control of Master Chief, begin following the troop of marines through the jungle. Eventually, you’ll see a waterfall in the distance. As soon as you step out of the canyon, turn right, press the A button and push forward on the left thumbstick to jump over the tree trunk. Your first enemy encounter consists of a Brute and a few Grunts. As long as you are not spotted, the Brute stands atop the tree trunk along the stream. Initially, this Brute has his back to you. Jump up onto the tree trunk, get behind the Brute and press the B button to perform a melee attack. A couple of these should kill him. Grunts can easily be taken out with any weapon, even a simple melee attack. With the marines by your side, the Grunts will likely be taken out before you can get many shots in. With the enemies dead, continue following the marines over the stream. A Phantom appears. It remains only to drop off some grunts and a Brute. Brutes aren’t as easily dealt with, though with allies in your presence one lone Brute won’t stand much of a chance.


Behind Brute
Behind Brute
Brute and Marine
Brute and Marine
SILVER SKULL: After killing the enemies dropped by the Phantom, hop down and move through the trees towards the water in the distance to your right. The ‘Blind’ skull is on a overlooking the water.

Welcome to Halo 3 Extended


Halo: Combat Evolved was the Xbox's flagship title, and is the one game that essentially kept the original Xbox console afloat. It’s hard to argue that, besides Halo, the original Xbox didn’t have much in the way of games to offer, however due to the remarkable popularity of Halo, and the runaway success of Halo 2, Microsoft is still in the console race. Halo did great things for console FPS games in general. Halo might not have seemed revolutionary for PC gamers, but for those gamers who prefer to play video games from the couch with a controller in hand, Halo set the FPS console standards to what they are today. The intuitive controls and satisfying single player (or co-op) campaign made for a great, unparalleled console FPS experience. The sequel offered one important thing that the first Halo did not: Online multiplayer. While many gamers experienced countless hours of fun playing the original Halo over LAN with their friends, the absence of the Xbox Live experience was noticeable; most notably its readily available, unlimited number of opponents. Halo 2 assaulted Xbox Live upon its release. The new multiplayer mode was a hit, and greatly contributed to the game’s longevity. While many other online multiplayer titles fizzled out, Halo 2’s online popularity remained constant over the years. The fact that, even after the subsequent release of Microsoft’s Xbox successor, Halo 2 remained one of the most played games on Xbox Live, speaks volumes. What could possibly top the sheer popularity of Halo 2? Presumably its sequel, Halo 3. This guide will help you find your way through each and every level in Halo 3’s single player campaign, help you take down even the toughest enemy encountered along the way, as well as offer general tips and weapon information. Note: This walkthrough was written based on the NORMAL difficulty level. All level directions and, for the most part, strategies still apply, but your enemies are more accurate, deal more damage, and have more vitality on higher difficulty levels. If you have any comments or requests for our Halo 3 guide, you can make them in this thread in our forum. This guide is copyright 2007 SuperCheats.com, no part of it may be reproduced without permission.